Welcome to customize all kinds of clothing
How to Patch Jeans in 2026: The Complete Guide to Repairing Denim Like a Pro
There comes a moment with every beloved pair of jeans—the one you’ve worn through road trips, lazy Sundays, and countless coffee runs—when you notice it. A thinning at the knee. A frayed edge at the pocket. A rip that started as a whisper and is now demanding attention.
For years, that moment meant a difficult choice: retire a faithful companion or resign yourself to wardrobe dysfunction. But in 2026, we know better.
Patching jeans isn’t just about repair. It’s about reinvention.
Whether you’re saving a pair of raw selvedge denim that cost more than your first car or breathing new life into thrift store finds, learning how to patch jeans properly is the difference between tossing and treasuring. And this year, with sustainability finally taking its rightful place at fashion’s center, the ability to repair your own denim has become not just practical, but essential.
Why 2026 Is the Year You Learn to Patch
The numbers tell a stark story. According to environmental reports, textile waste continues to mount—with some regions discarding over 340 tonnes of fabric daily . But there’s a counter-movement gaining momentum, one that values longevity over novelty and craftsmanship over consumption.
This is the slow denim movement , and patching sits at its heart.
Beyond the environmental case lies something more personal: the deep satisfaction of extending the life of something you love. A well-patched pair of jeans carries stories—not just of where you’ve been, but of the care you’ve invested. In an era of disposable fashion, that kind of relationship with clothing feels increasingly radical.
And let’s be honest: a good patch job saves money. Professional repairs can cost more than a new pair of fast-fashion jeans. Doing it yourself costs pennies and rewards you with skills that last.
Before You Begin: Assessing the Damage
Not all rips are created equal, and not all jeans are worth saving. The first step in learning how to patch jeans effectively is understanding what you’re dealing with.
Evaluate the Location
High-stress areas demand different approaches than low-movement zones.
- Knees and elbows: Constant bending requires flexible patches and reinforced edges
- Inner thighs: Friction and moisture call for stretch-friendly materials
- Seat and back pockets: Weight-bearing areas need substantial reinforcement
- Crotch seams: The highest-stress zone of all—multiple layers and hybrid techniques recommended
- Pocket corners and hems: Minor stress, simpler fixes
Examine the Fabric Condition
If the denim around the rip is still strong, you’re in good shape. But if the fabric has disintegrated entirely or the surrounding area is paper-thin, patching may only delay the inevitable. Sometimes, the kindest thing is to repurpose the jeans into something new—shorts, a bag, or patchwork material for future projects .
Understand Your Denim Type
- Raw or selvedge denim: These premium fabrics deserve careful, considered repairs that preserve their character
- Stretch denim: Contains elastane or spandex; needs flexible patches and lower heat to avoid melting synthetic fibers
- Distressed denim: Intentional wear requires a different philosophy—sometimes patching behind the rip preserves the look while adding stability
Method One: The Iron-On Patch (Quick and Accessible)
For beginners or those seeking speed, iron-on patches offer the simplest entry point. When applied correctly, they can last for years.
What You’ll Need
- Your chosen iron-on patch
- A household iron (clean and empty)
- Ironing board or heat-resistant surface
- Thin cotton cloth (a handkerchief or pillowcase works perfectly)
- Scissors (optional, for trimming)
Choosing the Right Patch
Iron-on patches come in a surprising variety :
| Material | Best For | Characteristics |
|---|---|---|
| Denim | Invisible repairs | Matches jean texture; available in various washes |
| Twill | Heavy-duty fixes | Thick, sturdy, wrinkle-resistant |
| Embroidered | Decorative statements | Colorful, textured, eye-catching |
| Leather/Faux leather | Edgy customization | Sleek, durable, bold |
| Chenille | Retro or playful looks | Soft, fuzzy, 3D appearance |
For knee repairs specifically, look for iron-on denim knee patches—often larger, reinforced, and pre-curved to fit the joint’s contour .
Step-by-Step Application
Step 1: Prepare the jeans
Wash and dry your jeans completely. Any dirt, oil, or moisture will prevent the adhesive from bonding . Lay them flat on your ironing board, smoothing the area around the rip. If the tear has frayed edges, trim loose threads carefully.
Step 2: Position the patch
Place the patch adhesive-side down over the damaged area. Ensure it covers the rip with at least a 1-inch margin on all sides . For knee patches, consider placing a rolled towel inside the leg to mimic the knee’s natural bend—this helps the patch conform during wear .
Step 3: Set your iron
Preheat to the temperature specified on the patch backing (typically cotton or wool setting, around 300-340°F / 150-170°C) . Turn steam OFF.
Step 4: Apply heat
Cover the patch with your thin cotton cloth. Press the iron down firmly—do not glide—and hold for 30-45 seconds . Repeat, moving to adjacent sections until the entire patch has been heated.
Step 5: Let it cool
This is the most crucial step. Allow the patched area to cool completely while still flat on the board—5 to 10 minutes minimum . The adhesive needs this time to solidify into a permanent bond. Rushing leads to peeling.
Step 6: Test the bond
Gently tug the patch edges. If anything lifts, repeat the ironing process on that section.
Troubleshooting Common Issues
Method Two: The Sewn Patch (Durable and Customizable)
For those willing to invest a little more time, sewing a patch creates a repair that can outlast the jeans themselves. This method shines on high-stress areas and offers endless creative possibilities.
Hand-Sewing vs. Machine
Hand-sewing gives you control and portability. You can work anywhere, and the process itself feels meditative. It’s ideal for smaller patches and decorative stitching.
Machine sewing is faster and creates uniformly strong seams. If you have access to a machine, use it for straight edges and heavy reinforcement.
The Japanese Influence: Sashiko
One of the most beautiful approaches to denim repair comes from Japan. Sashiko—meaning “little stabs”—is a form of decorative reinforcement stitching that has become synonymous with visible mending .
Traditionally used to strengthen and extend the life of workwear, sashiko transforms repairs into art. The running stitch patterns—often geometric—add texture, color, and undeniable character. Even a first-timer can master the basic stitch, and the results look intentional rather than improvised .
Step-by-Step Hand-Patching
Step 1: Prepare your patch
Cut your patch fabric slightly larger than the hole—at least ½ inch extra on all sides . Denim scraps work best, but you can experiment with cotton, canvas, or even vintage fabrics.
Step 2: Position and pin
Place the patch behind the hole (for an invisible mend) or on top (for visible mending). Pin in place securely.
Step 3: Choose your thread
Use heavy-duty polyester or top-stitching thread. Regular thread will break under tension .
Step 4: Start stitching
For beginners, a simple running stitch around the patch perimeter works beautifully. For extra durability, try a backstitch or zigzag pattern . If you’re feeling adventurous, practice basic sashiko patterns—straight lines, geometric grids, or interlocking shapes.
Step 5: Reinforce
For high-stress areas, consider adding a second row of stitching inside the first, or stitching a box pattern around the entire patch .
The Hybrid Approach: Best of Both Worlds
Here’s a professional secret: combine iron-on and sewing methods for repairs that laugh at stress .
First, fuse your patch with an iron-on adhesive or fusible web. This holds everything perfectly in place. Then, stitch around the edges for mechanical reinforcement. The adhesive acts as your construction crew, the stitches as permanent security.
This hybrid method is particularly effective for:
- Knees and elbows
- Crotch seams
- Children’s jeans (where stress is relentless)
- Workwear that demands durability
Method Three: No-Sew Alternatives (When You Have Neither Time Nor Tools)
Sometimes you need a fix immediately, and digging out the sewing kit isn’t an option. Modern fabric adhesives have improved dramatically.
Fabric Glue
High-quality fabric glue designed for denim can create surprisingly durable repairs . Look for products labeled “washable” and “flexible.” Apply sparingly between the patch and jeans, press firmly, and allow 24 hours to cure fully before wearing or washing.
Fusible Web
This double-sided adhesive sheet lets you create custom patches from any fabric. Cut your patch, cut fusible web to match, sandwich between patch and jeans, and iron. The result mimics an iron-on patch but with complete fabric freedom .
When No-Sew Isn’t Enough
Be honest about limitations. No-sew methods work beautifully for low-stress areas and temporary fixes. But for knees, seats, and crotches, sewing remains the gold standard. A patch that fails after two washes isn’t a repair—it’s a delay.
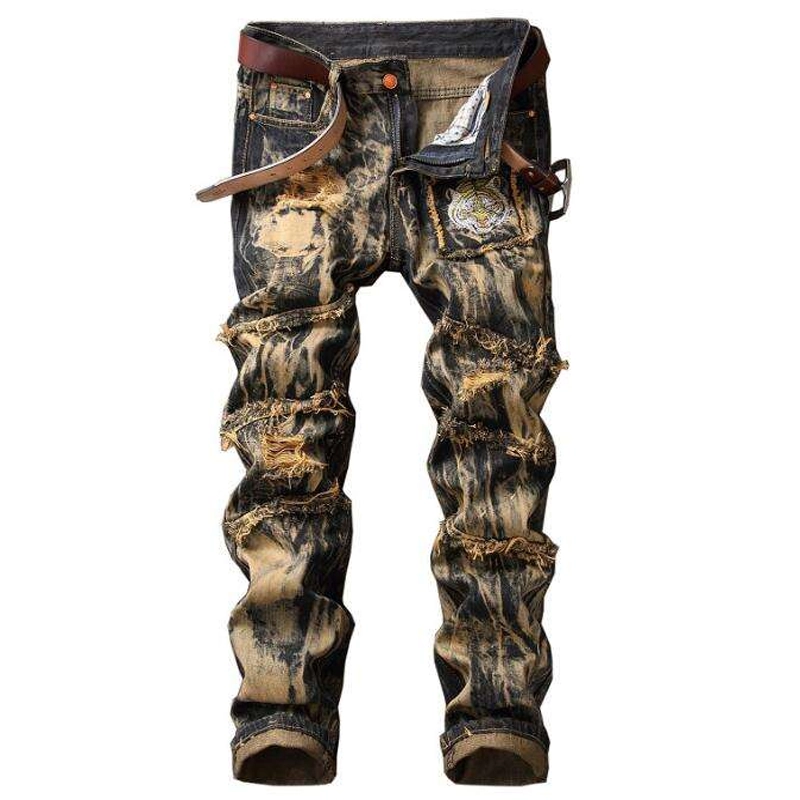
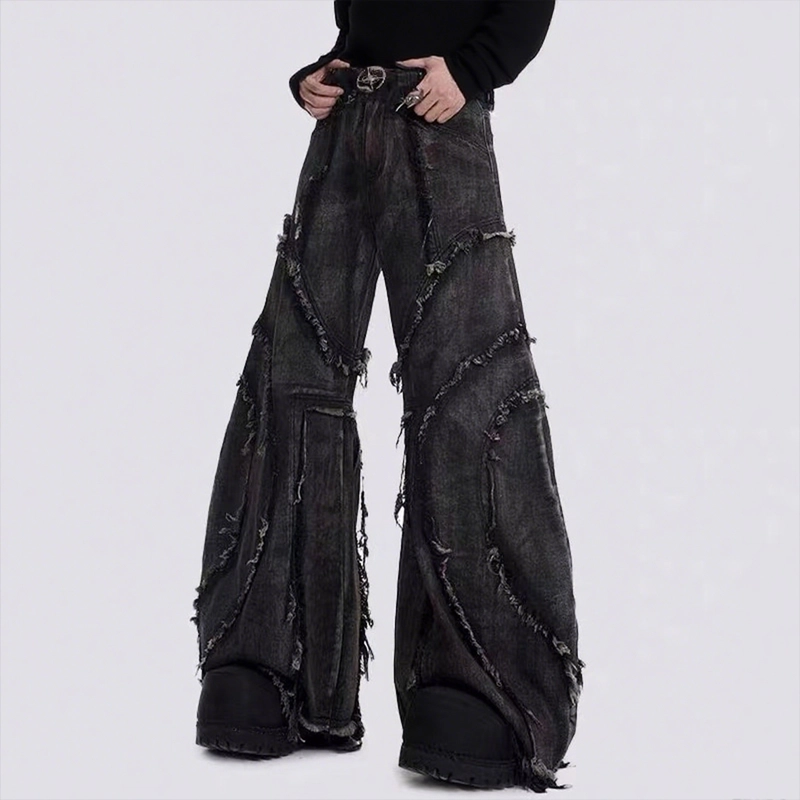
Creative Patching: Making Repairs Visible and Beautiful
Here’s where patching transcends maintenance and becomes art. The visible mending movement has transformed how we think about repairs . Instead of hiding damage, we highlight it. Instead of matching perfectly, we contrast boldly.
Design Ideas for 2026
Geometric patchwork: Use fabric scraps cut into shapes—triangles, hexagons, circles—arranged in patterns across knees or pockets .
Contrast stitching: Thread in bright colors or heavy weights turns functional seams into decorative elements.
Embroidered accents: Add small motifs—flowers, stars, initials—around or on top of patches .
Upcycled materials: Cut patches from worn-out denim jackets, vintage scarves, or even wool sweaters (felted first) . Each piece carries history.
Layered patches: Apply patches of different sizes and colors overlapping—creating texture and depth.
Boro influence: The Japanese technique of piecing together multiple fabric fragments, often with visible stitching, creates rich, textured surfaces .
The Knee as Canvas
Knees are the most common failure point and the perfect opportunity for creative expression. Instead of matching denim, try:
- Brightly colored fabric behind the rip, secured with sashiko stitching
- A large embroidered patch that transforms the knee into a focal point
- Multiple small patches in complementary shades
- Leather patches for an edgy, durable finish
Repairing Specific Problem Areas
How to Patch Jeans Knees
Knees bend constantly, so flexibility matters .
- Turn jeans inside out
- Place a rolled towel inside the leg to mimic bent position
- Apply patch (consider stretch-specific adhesive for comfort)
- For maximum durability, use hybrid method: iron-on plus stitching
- If sewing, use stretch stitches or thread with give
How to Patch Jeans Inner Thigh
This area combines friction, moisture, and movement .
- Choose flexible patch material—stretch denim or lightweight cotton
- Apply patch to inside of jeans (hidden mend) for cleaner look
- Use fabric glue plus stitching for security
- Consider darning instead of patching for small worn areas
How to Patch Jeans Pocket
Pocket corners fray from constant use.
- Small iron-on patch works beautifully
- For decorative touch, use embroidered patch that complements the pocket shape
- Stitch around edges if pocket gets heavy use
How to Patch Jeans Crotch
- Assess full extent—damage often larger than visible hole
- Use layering technique: adhesive cloth plus primary patch
- Consider hybrid approach with flexible fabric glue
- Allow extra curing time before wearing
- If fabric is extensively weakened, consider professional repair or repurposing
How to Patch Ripped Jeans Without a Patch
Sometimes you don’t have a patch, or you want an invisible mend.
Darning weaves thread across the hole, recreating fabric structure . It’s time-intensive but produces nearly invisible results on small tears.
Fabric from hidden areas can be harvested from inside waistbands, hems, or pocket bags. This provides perfect color and weight matches .
Aftercare: Making Your Repairs Last
You’ve done the work. Now protect it.
Washing
Always turn jeans inside out before washing . This protects patches from direct abrasion against other clothes and the machine drum.
Use cold water on a gentle cycle. Hot water weakens adhesives and can shrink patches unevenly .
Mild detergent only—skip bleach and fabric softener, which break down adhesives and fibers.
Drying
Air drying is ideal. Hang jeans in a well-ventilated area away from direct heat.
If you must machine dry, use the lowest heat setting and remove while slightly damp. High heat stresses adhesive bonds .
Immediate Aftercare
Avoid washing patched jeans for at least 24 hours after repair . This gives adhesives time to fully cure.
For sewn patches, give the threads time to settle before subjecting them to stress.
When Not to Patch
Knowing when to stop is as important as knowing how to start.
If the fabric around the rip is significantly weakened or disintegrated, patching may only delay failure. If you’ve repaired the same area multiple times, consider whether it’s time to repurpose.
Jeans that no longer fit or bring you joy deserve a different fate. Cut them into patch material, transform them into shorts, or use them for projects .
The Jean Genius philosophy encourages us to think beyond repair—to restyle and repurpose, giving denim multiple lives in multiple forms .
The Tools Worth Owning
If you plan to make patching a regular practice, invest in quality tools :
- Sharp fabric scissors: Clean cuts prevent fraying
- Heavy-duty thread: Polyester or top-stitching weight
- Denim needles: Size 90/14 or 100/16 for hand or machine
- Fabric marking tools: Tailor’s chalk or washable markers
- Seam ripper: For fixing mistakes
- Darning mushroom or egg: For curved repairs
- Iron-on adhesive sheets: For custom patches
- Fabric glue: Flexible, washable formula
Why This Matters
Learning how to patch jeans in 2026 connects you to something larger than a single repair. It’s participation in a shift—away from disposability, toward longevity. Away from passive consumption, toward active care.
Every patch tells a story. The rip itself carries memory—that time you knelt in the garden, that hike where you slipped on rocks, that afternoon of yard work that got away from you. The patch carries another story—of attention, of value, of choosing to extend rather than replace.
This is the slow denim way . Not fashion as novelty, but fashion as relationship. You and your jeans, working it out together.
And in 2026, that relationship has never been more worth maintaining.
Ready to start? Gather your materials, choose your method, and give those jeans the attention they deserve. Whether you opt for a five-minute iron-on fix or a weekend sashiko project, the satisfaction of wearing your own repair is unmatched. Your favorite jeans aren’t done yet—they’re just getting started.
Explore More Articles from WUYI Apparel
Want to learn more about styling essentials hoodies or other apparel tips? Check out some of our other helpful articles:
- Wearing Black to a Wedding: A Modern Etiquette Guide
- Rainwear Jackets: The Perfect Fusion of Fashion and Function
- How To Measure Clothes
- Casual clothing – Casual and elegant through everyday life
- How to Find Your Style:An in-depth exploration of one’s own clothing style
For more tips and tricks on fashion and lifestyle, don’t forget to visit our Blog Section.
Head over to our Shop Page to browse our full collection and pick your favorite essentials hoodie today!