Welcome to customize all kinds of clothing
How to draw a hoodie and how to sew a hoodie?
The hoodie is more than just a garment; it’s a cultural icon, a symbol of comfort, and a blank canvas for self-expression. Whether you’re an artist looking to capture its casual essence on paper or a maker aiming to create a custom-fit piece of wearable art, understanding the hoodie from both a two-dimensional and three-dimensional perspective is a rewarding endeavor. This guide will walk you through the fundamental steps of both drawing and sewing your very own hoodie.
Part 1: How to Draw a Hoodie
Drawing a hoodie requires an understanding of its unique structure, particularly how soft fabric drapes and folds. We’ll break it down into a simple, step-by-step process.
Step 1: Establish the Basic Form
Start not with the hoodie itself, but with the body wearing it. Draw a simple human torso mannequin shape. This doesn’t need detail—just a basic outline of the chest, shoulders, and waist. This mannequin will serve as your guide for proportions, ensuring your hoodie looks like it’s actually being worn.
Step 2: Define the Torso and Sleeves
Using your mannequin as a guide, sketch the outline of the hoodie’s body. Remember, hoodies are not skin-tight. Draw the lines slightly outside the mannequin’s outline to account for the fabric’s bulk. For the sleeves, draw two cylindrical shapes extending from the shoulders. Pay attention to where the sleeve connects to the body—the seam is typically at the shoulder’s edge, not on top of it.
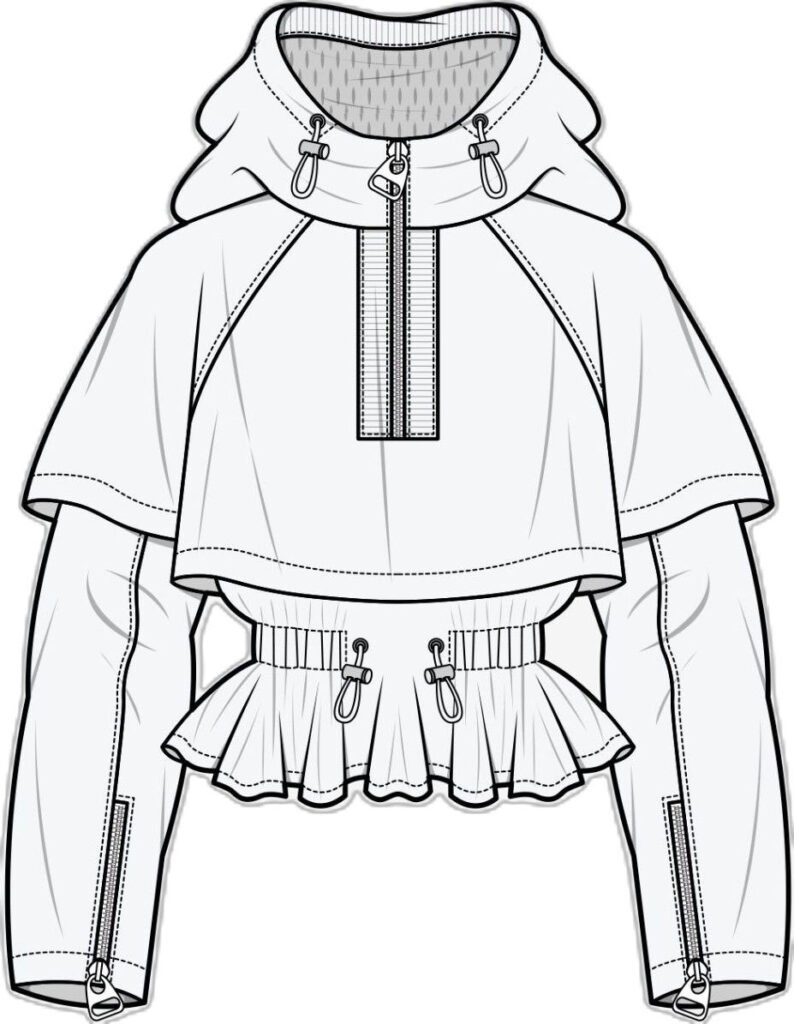
Step 3: Draw the Hood
This is the most distinctive part. The hood is not a flat triangle; it’s a three-dimensional pouch that wraps around the head.
- Start by drawing the opening. Imagine a circle or oval around where the head would be.
- From the sides of this opening, draw two lines going up and curving towards the back of the head. This forms the top of the hood.
- Connect these lines with a curved line at the top. The hood should look like it has depth, capable of holding a head inside.
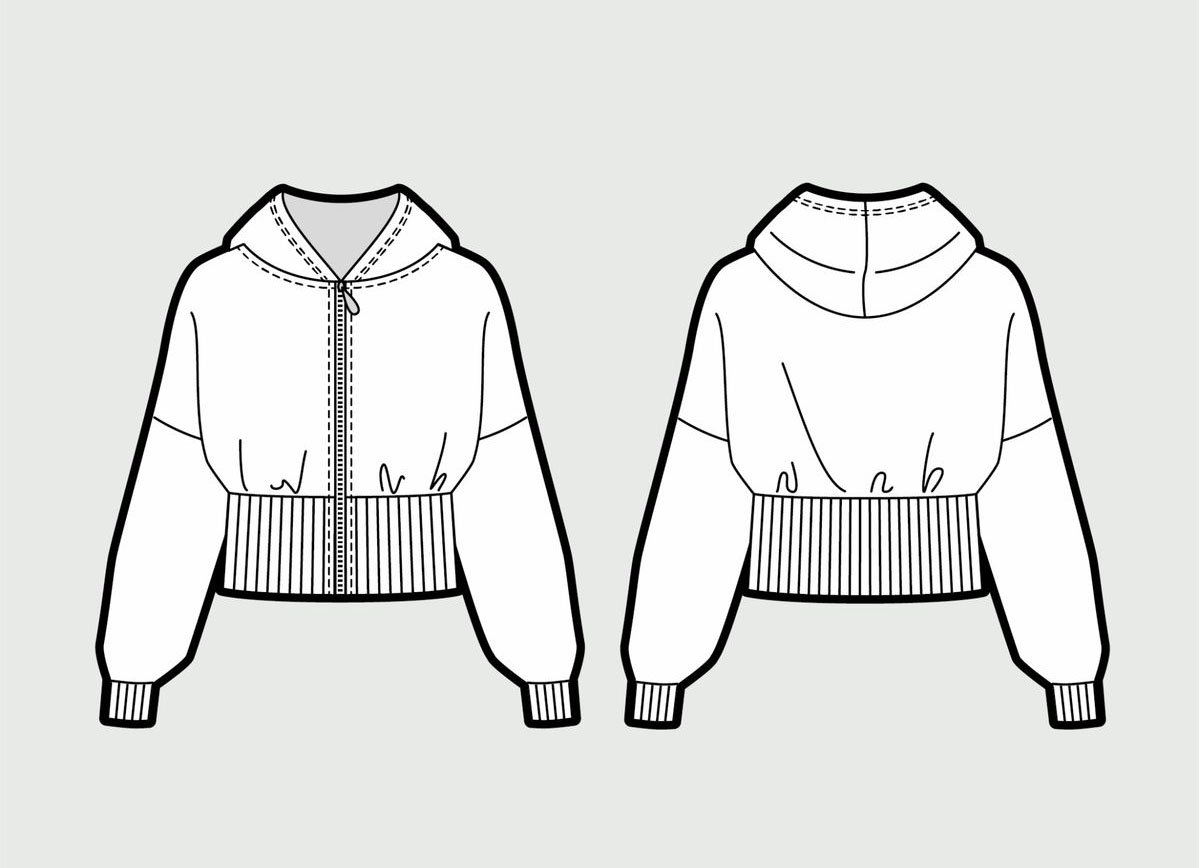
Step 4: Add the Front Pocket (The Kangaroo Pocket)
No hoodie is complete without its signature front pocket. Draw a large, curved “U” shape on the lower front torso. The top line of the pocket is usually a gentle curve that follows the slight bend of a resting torso. Connect the ends of the “U” to the hoodie’s body with short, straight or slightly curved lines.
Step 5: Incorporate Details and Fabric Texture
This is where your drawing comes to life.
- Seams: Draw lines along the shoulders, sides, and sleeves to represent stitching.
- Drawstrings: Add two lines emerging from a small hole or a hoodie tunnel (a fabric tube) at the base of the hood. Let them dangle loosely.
- Ribbing: Sketch short, parallel lines at the cuffs, waistband, and the opening of the hood to indicate the ribbed knit fabric.
- Folds and Wrinkles: To show movement and softness, add subtle curved lines at the elbows, around the waist where the fabric bunches, and inside the hood. These lines should suggest compression and drape, not cut into the form.
Step 6: Finalize Your Drawing
Go over your final lines with a darker pencil or pen, erasing the underlying mannequin sketch. You can now add color, shading, or logos. Shading is particularly effective for showing the hood’s depth and the soft folds of the fabric.
Part 2: How to Sew a Hoodie
Sewing a hoodie is an achievable project for an intermediate sewer. The key is patience, precision, and understanding the construction order.
Step 1: Choose a Pattern and Fabric
Select a commercial hoodie sewing pattern. These provide pre-cut paper templates and detailed instructions. For fabric, the classic choice is French terry or a lightweight sweatshirt fleece for the main body, and ribbing for the cuffs, waistband, and hood edge. You will also need a drawstring and a sewing machine (a serger/overlocker is helpful but not essential).
Step 2: Cut Out Your Fabric
Wash and iron your fabric to pre-shrink it. Lay out your pattern pieces according to the guide, paying attention to the “grainline.” Pin the pieces down and cut carefully. You will typically have: a front bodice, a back bodice, two sleeves, a hood (two pieces), a pocket, and the ribbing strips.
Step 3: Construct the Pocket
This is often the first step. Fold and press the top edge of your pocket piece. Pin it precisely onto the front bodice piece, following the pattern’s markings. Stitch it in place along the sides and bottom, reinforcing the top corners with a few backstitches as they endure a lot of stress.
Step 4: Assemble the Main Body
- Place the front and back bodice pieces right sides together and pin at the shoulders. Stitch the shoulder seams.
- Next, attach the sleeves. The top of the sleeve (the “cap”) is curved. Find the notch on the sleeve cap that matches the shoulder seam. Pin the sleeve into the armhole, right sides together, easing the fabric around the curve. This can be tricky, so take your time. Stitch all the way around the armhole.
- With the sleeves attached, pin the side seams and the underarm sleeve seams in one continuous line, from the cuff of the sleeve all the way down to the bottom of the bodice. Stitch this long seam.
Step 5: Create and Attach the Hood
- Take the two hood pieces and place them right sides together. Stitch along the long, curved top seam that goes over the head. Press this seam open.
- If your pattern includes it, create the tunnel for the drawstring at the center front of the hood edge by folding and stitching a small channel.
- Now, attach the hood to the body. This is a crucial step. Pin the hood to the neckline, right sides together. The center of the hood should align with the back neckline center, and the ends of the hood should meet the front edges of the bodice. Distribute the hood’s fabric evenly around the neckline and stitch carefully.
Step 6: Add the Ribbing and Drawstring
- The ribbing for the cuffs, waist, and hood edge is usually folded and sewn into a loop first.
- To attach a cuff, mark the cuff and the sleeve bottom into quarters. Pin the cuff to the sleeve, right sides together, matching the quarter marks. Gently stretch the ribbing to fit the sleeve as you stitch. Repeat for the other cuff and the waistband.
- Finally, thread the drawstring through the hood tunnel using a safety pin attached to one end.
Step 7: Final Pressing
Give your brand new hoodie a good press with an iron. This final step makes all the difference, setting the seams and giving your creation a professional, finished look.
Conclusion: From Sketch to Stitch
Both drawing and sewing a hoodie are processes of building up complexity from simple shapes. The artist starts with a mannequin and adds layers of fabric and detail, while the sewer starts with flat pieces of cloth and constructs a three-dimensional object. Mastering either skill—or both—gives you a deep appreciation for this humble garment, transforming it from a simple piece of apparel into a personal achievement of creativity and craft.