Welcome to customize all kinds of clothing

How to Tie Dye a Hoodie: A Guide to Creating Your Masterpiece
Tie-dye is more than just a craft; it’s a vibrant expression of individuality. Transforming a simple, plain hoodie into a wearable work of art is a rewarding and fun process. Whether you’re a seasoned DIY enthusiast or a complete beginner, this guide will walk you through everything you need to know to create a stunning tie-dyed hoodie, from gathering supplies to the final reveal, complete with real-world examples for inspiration.
Gathering Your Supplies
Before you dive in, preparation is key. Having all your materials ready will make the process smooth and enjoyable.
Essential Materials:
- The Hoodie: The most important ingredient! A 100% cotton hoodie is ideal because cotton absorbs dye best. Pre-wash it (without fabric softener) to remove any finishes that might resist the dye.
- Fiber Reactive Dyes: Brands like Dharma Trading Co. Procion MX Dyes or Jacquard Procion MX are the gold standard for vibrant, long-lasting colors. Tulip One-Step Kits are also popular and convenient for beginners as the soda ash is pre-mixed.
- Soda Ash: This is a dye fixative. Soaking your hoodie in a soda ash solution before dyeing is crucial for making the color permanent and wash-fast.
- Rubber Bands: These are your primary tool for creating patterns. Thicker bands are better for holding tight folds.
- Protective Gear: Disposable gloves, an apron, and old clothes are non-negotiable. Dye stains skin and surfaces.
- Workspace: Cover your work area with plastic tablecloths or garbage bags. An outdoor space is perfect.
- Application Tools: Squeeze bottles, squeeze-tip bottles, or squirt bottles are best for liquid dye. Some artists also use spoons for sprinkling powdered dye.
- Plastic Bags or Wrap: To keep your dyed hoodie moist while the dye sets.
- A Plastic Bucket or Basin: For the soda ash soak.
The Step-by-Step Process
Step 1: The Soda Ash Soak
Dissolve about 1 cup of soda ash in a gallon of warm water in your bucket. Submerge your damp, pre-washed hoodie completely for 15-20 minutes. Wring it out thoroughly so it’s damp but not dripping. A sodden hoodie will have diluted, runny colors.
Step 2: Tying Your Pattern
This is where the magic begins. How you fold, twist, and bind the fabric will determine your final design. Here are some classic techniques:
- The Spiral: Lay the hoodie flat. Pinch the center of the chest area and begin twisting the entire garment until it forms a tight, flat spiral, like a cinnamon roll. Secure it with rubber bands placed radially, creating 6-8 wedges.
- The Bullseye (Circles): Pinch a small section of fabric and pull it up. Wrap rubber bands tightly down the length of this “fabric cone” at regular intervals. This will create a series of concentric circles.
- The Crumple (Ice Dye): This is a more freeform technique. Simply crumple the entire hoodie into a random, scrunched-up ball and secure it haphazardly with rubber bands. For an advanced version, you can place ice on top of the crumpled hoodie and sprinkle powdered dye over the ice. As the ice melts, it creates beautiful, watercolor-like effects.
Step 3: Applying the Dye
Put on your gloves! Mix your dyes according to the package instructions. Place your tied hoodie on a rack over a tray to catch drips.
- Color Theory: Plan your color scheme. Complementary colors (like blue and orange) can create bold contrasts, while analogous colors (like blue, green, and teal) create a more harmonious blend.
- Application: Apply the dye generously to different sections of your tied-up hoodie. Make sure to push the nozzle into the folds to saturate the core of the fabric. You can be precise with colors in each section or let them bleed into one another for a more psychedelic look. Don’t forget the hood! You can tie and dye it separately or as part of the whole spiral/crumple.
Step 4: The Setting Process
Once fully dyed, place the hoodie in a large, sealed plastic bag or wrap it tightly in plastic wrap. This keeps it moist and allows the dye to react with the fibers. Let it sit for at least 6-8 hours, or ideally, 24 hours for the most vibrant results. Do not let it dry out.
Step 5: The Reveal and Rinsing
This is the most exciting part! Wearing gloves, take the hoodie to a utility sink or hose. Cut the rubber bands and slowly unfold your creation, revealing the hidden pattern. Rinse it under cold water until the water runs almost clear, then gradually move to warm water.
Step 6: Washing and Wearing
Wash the hoodie by itself in your washing machine on a hot cycle with a small amount of mild detergent. This will remove any excess dye. Tumble dry or air dry. Your one-of-a-kind hoodie is now ready to wear!
Real-Life Case Studies: Inspiration from the Wild
Tie-dye has seen a massive resurgence, moving from DIY projects to high fashion. Here are some real-world examples that showcase different techniques.
Case Study 1: The Viral Spiral Hoodie
In 2020, a TikTok user named @craftynoona posted a video of her creating a perfectly executed spiral hoodie using a classic Tulip kit in shades of navy blue, seafoam green, and purple. The video, which showed the entire process from tying to the dramatic “reveal,” went viral with over 5 million views. It sparked a massive trend, with thousands of users in the comments showing off their own attempts, proving the timeless appeal of a well-executed spiral on a comfortable hoodie.
Case Study 2: The “Ice-Dye” Artisan
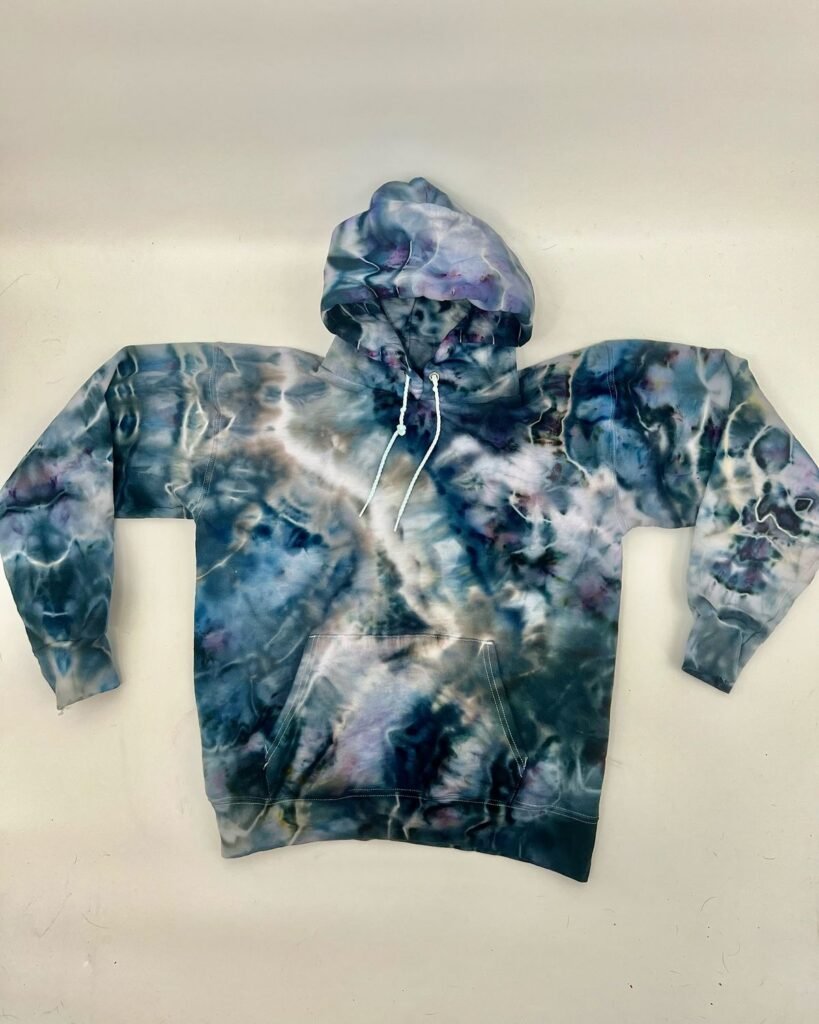
Small businesses on Etsy and Instagram have elevated tie-dye to an art form. A popular shop, “Wildflower Dyes,” specializes in the ice-dye technique. Their signature “Galaxy Hoodie” involves meticulously placing black, deep purple, and midnight blue dyes over ice on a white hoodie. The melting process creates intricate, marbled patterns that look like swirling nebulae and starfields, with unexpected pops of fuchsia and teal. These unique, unrepeatable pieces often sell out within minutes of a shop update and can command prices over $100.
Case Study 3: The Band Merch Revival
The band The Grateful Dead has long been associated with tie-dye, but modern artists have taken it to new levels. For his “Honey” tour in 2019, musician Harry Styles sold official, limited-edition tie-dye hoodies at his merch stands. These hoodies featured a more subdued, “vintage” color palette of mustard yellow, olive green, and rust on an off-white hoodie, using a crumple technique. This move bridged the gap between a grassroots DIY aesthetic and mainstream fashion, showing that tie-dye could be both cool and commercially successful.
Case Study 4: The Reverse Tie-Dye Trend
A more recent trend is reverse tie-dye. Instead of adding color to a white garment, you start with a black or dark-colored hoodie. A creator on YouTube, “Lia Griffith,” demonstrated this by mixing a bleaching solution and applying it to a black hoodie tied in a bullseye pattern. After the bleach discharged the black color to a rusty orange, she rinsed and then applied a bright pink dye over the bleached areas. The result was a striking, high-contrast hoodie with a dark background and vibrant, colorful patterns.
Creating your own tie-dye hoodie is a journey of creativity and surprise. By following these steps and drawing inspiration from the countless artists and hobbyists who have perfected their craft, you can create a personal garment that is as unique as you are. So grab a hoodie, choose your colors, and get ready for the thrilling reveal